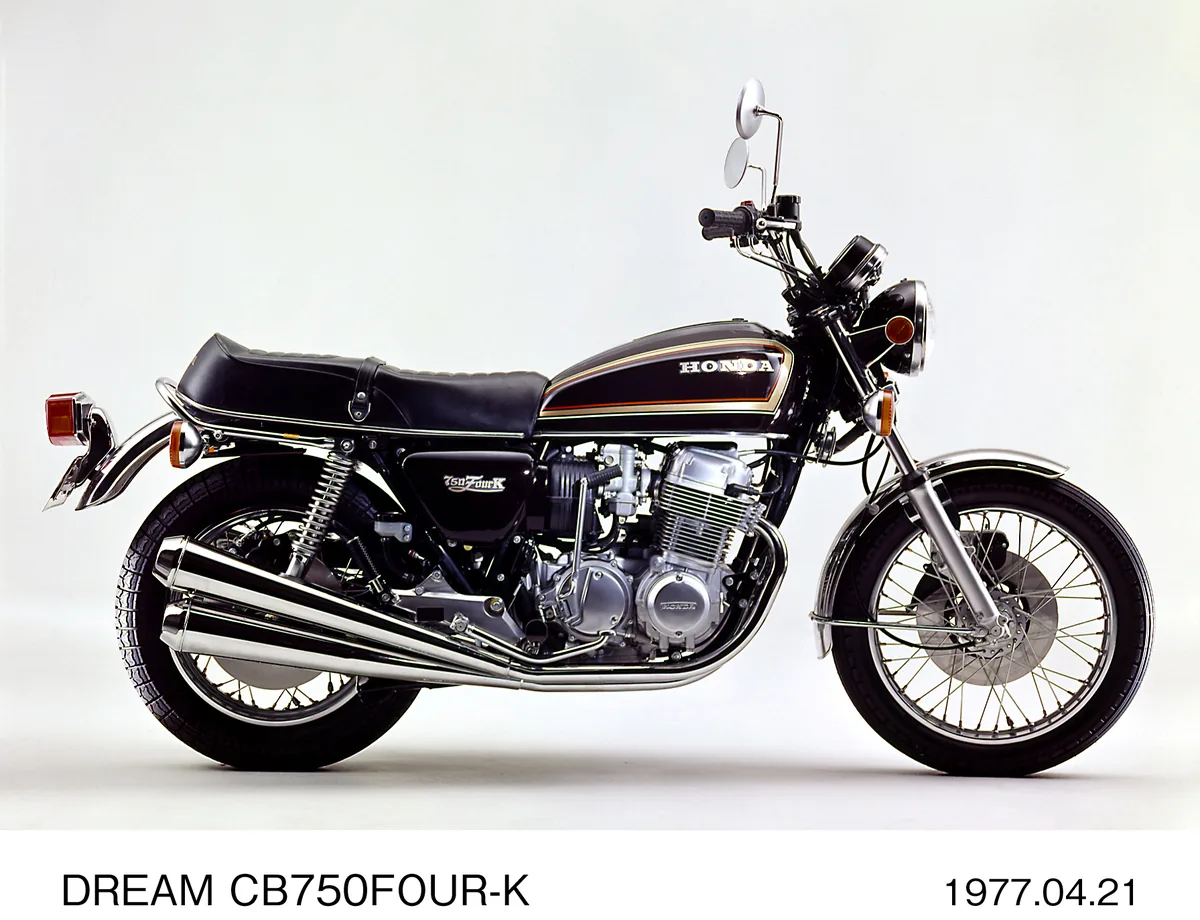
Data sheet
Dimensions & weights
- Wet weight
- 231 kg
- Seat height
- 810 mm
- Ground clearance
- 150 mm
- Wheelbase
- 1495 mm
Engine & drivetrain
- Engine
- Air
- Cooling
- Air cooled
- Transmission
- No
- Final drive
- Chain
- Fuelling
- Electronic fuel injection
Fuel & range
- Fuel capacity
- 19 L
Electronics & rider aids
- Ride modes
- No
- Cruise control
- No
- Traction control
- No
- ABS
- Yes
- Heated grips
- No
- Heated seat
- No
Service intervals
- Chain lube
- every 500 km
Protection
- Bash plate
- None
- Radiator guard
- No
- Oil cooler guard
- No
- Hand guards
- No
Consumables & service specs
Every value carries its source.
Tyres
- Front
- 3.25-19 4PRHonda CB750K7 Factory Supplement (AnyFlip)
- Rear
- 4.00-18 4PRHonda CB750K7 Factory Supplement (AnyFlip)
Tyre pressures
- Front — solo
- 2.0 kg/cm228 psi; solo rider, cold tyreHonda CB750K7 Factory Supplement (AnyFlip)
- Rear — solo
- 2.25 kg/cm232 psi; solo rider, cold tyreHonda CB750K7 Factory Supplement (AnyFlip)
- Front — loaded
- 2.0 kg/cm228 psi; with passenger/load, cold tyre — front pressure unchanged from solo per factory tableHonda CB750K7 Factory Supplement (AnyFlip)
- Rear — loaded
- 2.8 kg/cm240 psi; with passenger/load, cold tyreHonda CB750K7 Factory Supplement (AnyFlip)
Engine oil
- Viscosity
- SAE 10W-40Honda 4-Stroke Oil or equivalent, API service classification SENorton Commando Factory Service Manual
- Capacity
- 3.5 lTotal capacity including filter/gallery; periodic oil-change-only fill approx. 2.5L per factory service manual (K8-F3 issue, carried forward from K7 spec — no oil-capacity change documented between K7 and K8)Norton Commando Factory Service Manual
Brakes
- Fluid type
- DOT 3Front disc brake hydraulic systemHonda CB750K7 Factory Supplement — Inspection & Adjustment (AnyFlip)
Forks
- Oil capacity
- 145-155 mlPer front fork legHonda CB750K7 Factory Supplement (AnyFlip)
Final drive
- Chain
- DID630DL or RK630SD, drive chain slack 20mm630 pitch (non-O-ring vintage chain); lubricate with SAE 80/90 gear oil only; chain joint tool cannot be used on endless-type OEM chainHonda CB750K7 Factory Supplement — Inspection & Adjustment (AnyFlip)
Spark plugs
- Type
- NGK D8EA / ND X24ES-U (standard); NGK D7EA / ND X22ES-U (cold climate); NGK D9EA / ND X27ES-U (high-speed use); NGK DR8ES-L / ND X24ESR-U (Canada)Market/climate-specific plug options per factory supplementHonda CB750K7 Factory Supplement (AnyFlip)
- Quantity
- 4Inline four-cylinder engine, one plug per cylinderHonda CB750K7 Factory Supplement (AnyFlip)
Battery
- Type
- 12V-14AHLead-acid, conventional (non-sealed)Honda CB750K7 Factory Supplement (AnyFlip)
Fuel
- Minimum octane
- 91 octane (low-lead)Period spec called for leaded/low-lead fuel; modern equivalent is 91 AKI unleaded with a lead substitute additive recommended to protect non-hardened valve seats on this pre-unleaded-era engineHonda CB750K7 Factory Supplement (AnyFlip)
What breaks first and where.
Cam chain tensioner cracking (rubber-faced tensioner arm)
ModerateCommonThe SOHC CB750's cam chain tensioner uses a rubber-covered, bowed metal tensioner arm that is subject to cracking from years of vibration and heat cycling, developing what owners describe as a 'spider web of cracks.' This is widely documented across the SOHC CB750/900/1100F engine family that shares this tensioner design, and is considered one of the most common age-related failure points on these engines.
Symptoms
- Rattling/slapping noise from the cam chain area, especially at idle or on deceleration
- Visible cracking of the rubber facing on the tensioner arm upon inspection
- Eventual tensioner arm failure allowing excessive cam chain slack
Field repairableYes — Tensioner arm can be replaced with the engine in the frame by removing the cylinder head cover; many owners proactively replace with an updated/aftermarket tensioner arm design.
Automatic timing advance mechanism wear (points cam/advancer)
ModerateCommonThe centrifugal automatic ignition timing advance unit on the points-cam assembly can develop wear and sloppy advance-weight springs over time, causing erratic or inconsistent ignition timing advance as the mechanism ages. This produces inconsistent running, especially noticeable at higher RPM.
Symptoms
- Erratic idle
- Poor high-RPM running
- Timing advance inconsistent when checked with a timing light
- Engine surging or hesitation
Field repairableYes — Advance unit can be disassembled, cleaned, and springs replaced or upgraded; a well-documented DIY fix within the SOHC4 community.
Primary chain tensioner adjuster screw loosening
MinorOccasionalThe primary chain tensioner adjuster screw/locknut on the SOHC CB750 can loosen over time and with vibration, allowing the tensioner setting to drift and the primary chain to develop excess slack or noise.
Symptoms
- Rattling noise from the primary chain area
- Excess primary chain slack found on inspection
Field repairableYes — Re-tighten and thread-lock the adjuster screw; verify chain slack against factory spec.